8 Using Google Docs
Google docs is an online tool where you can create and edit text documents. It’s like Microsoft Word, but it’s on the internet. You can write essays, make lists, or even work on a big project like a thesis.
You can share your document with other people. They can read it, comment on it, or even make changes if you let them. Plus, everything gets saved automatically, so you don’t have to worry about losing your work. It’s great for group projects or just keeping your stuff organized.
Setting up a Google Docs file for your thesis is super easy and helpful. Here’s how to do it:
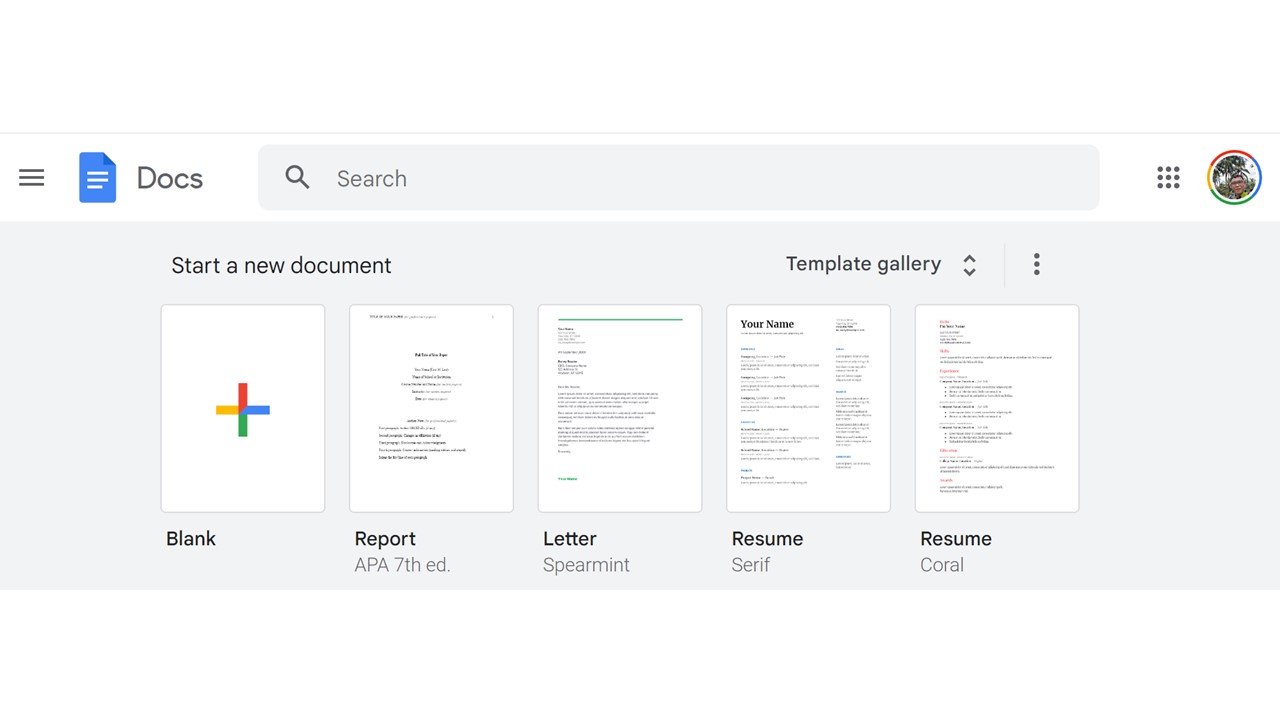
Open Google Docs: Go to the Google Docs website and sign in with your Google account. If you don’t have one, you’ll need to make one first.
New Document: Click on the “+ Blank” button to start a new document. You can also choose a template if you want a head start.
Name Your File: Click on “Untitled document” at the top. Give it a name related to your thesis so you can find it easily later.
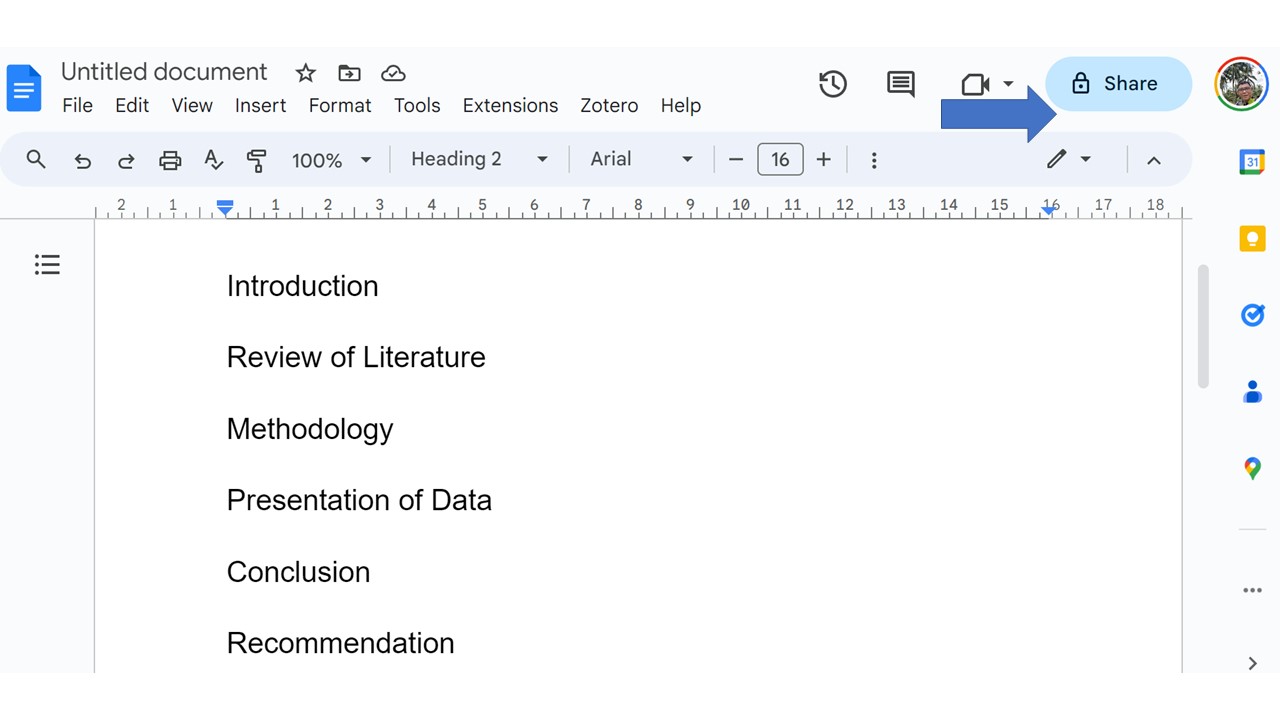
Sections: Create headings for different parts of your thesis like “Introduction,” “Methodology,” and “Conclusion.” Use the “Heading” styles to make them stand out.
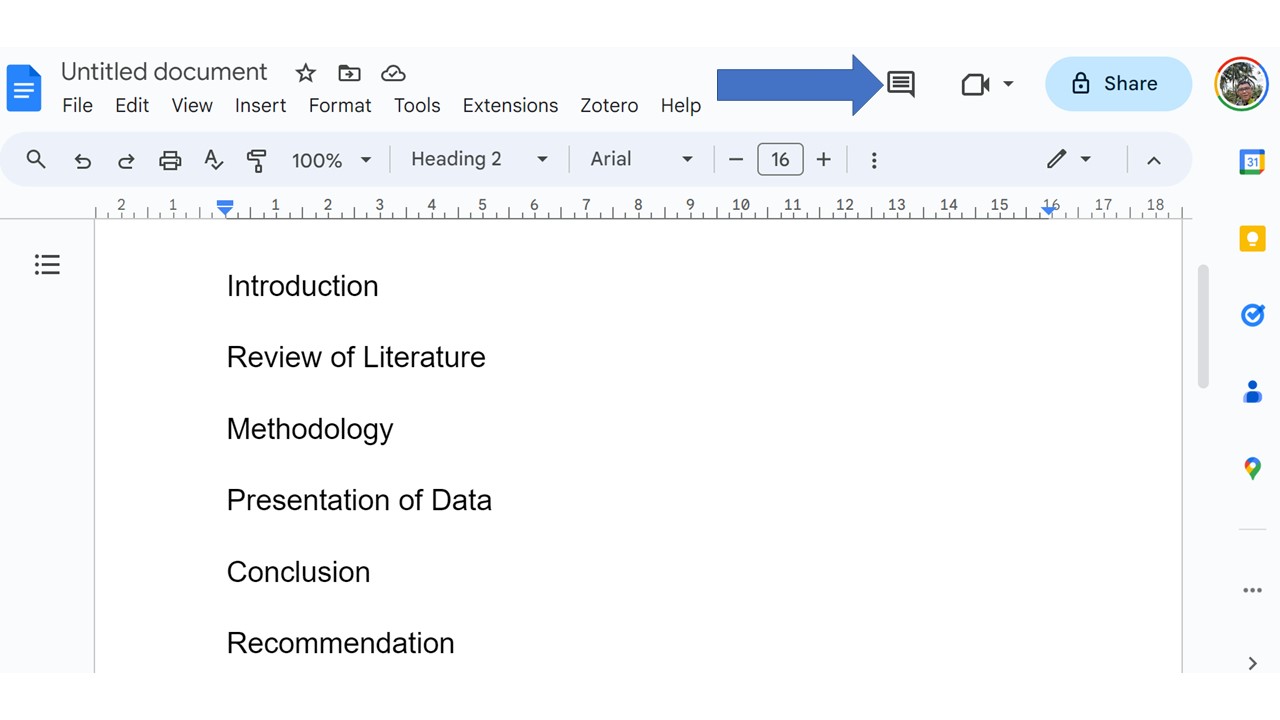
- Sharing and Collaboration: If you’re working with others, click the “Share” button at the top right. You can invite people by email and choose if they can edit, comment, or just view the document.

- Comments and Suggestions: Use the “Comment” and “Suggesting” modes if you want feedback from others. They can leave comments or suggest edits without changing the original text.
Auto-Save: Don’t worry about saving; Google Docs does it for you. But if you want an extra copy, you can download it to your computer.
8.0.1 Setting up references in Google Docs
Setting up references in Google Docs is a piece of cake! Here’s how you can do it:
Placeholders: While you’re writing, use placeholders where you want to cite a source. You can write something like “[CITE]” so you know you’ll need to add a reference there later.
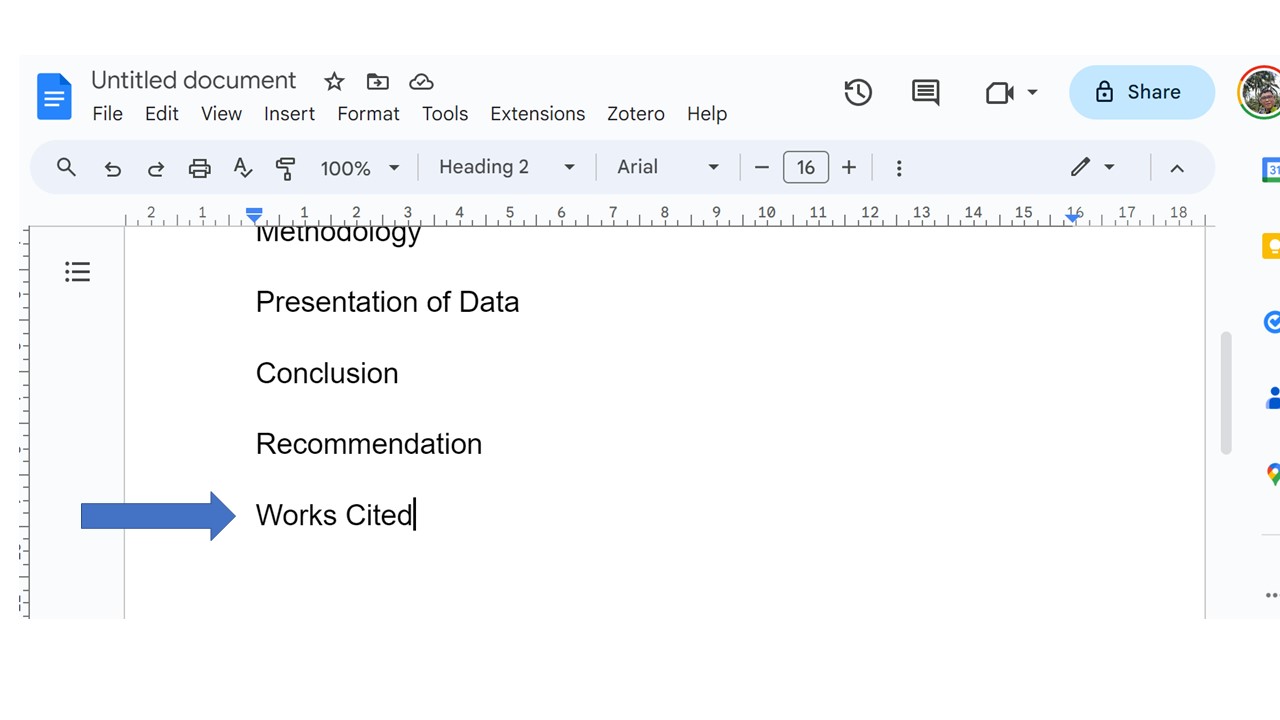
Create a ‘References’ Section: At the end of your document, make a new section called “References” or “Works Cited.” This is where you’ll list all your sources.
Format Your Sources: List your sources in the format your school or teacher wants, like APA, MLA, or Chicago style. You can do this manually, or use a citation generator online and then paste it in.
Hyperlinks: If your source is online, you can make the text clickable. Highlight the text, right-click, and choose “Link.” Then paste the URL.
Footnotes: If you prefer footnotes, place your cursor where you want the number to appear. Then go to “Insert” and choose “Footnote.” Google Docs will automatically number it for you and create a space at the bottom of the page for your citation.
Alphabetize: Make sure your references are in alphabetical order by the author’s last name. This makes it easier for anyone reading your thesis to find your sources.
Check and Double-Check: Before you’re done, go through your document to make sure every “[CITE]” placeholder has been replaced with a proper citation.
8.1 Creating Table of Contents
Headings: First, make sure you’ve used the “Heading” styles for the titles of your sections. Like “Heading 1” for main titles, “Heading 2” for sub-sections, and so on.
Place Cursor: Decide where you want the Table of Contents to go. Usually, it’s at the beginning of your document. Place your cursor there.
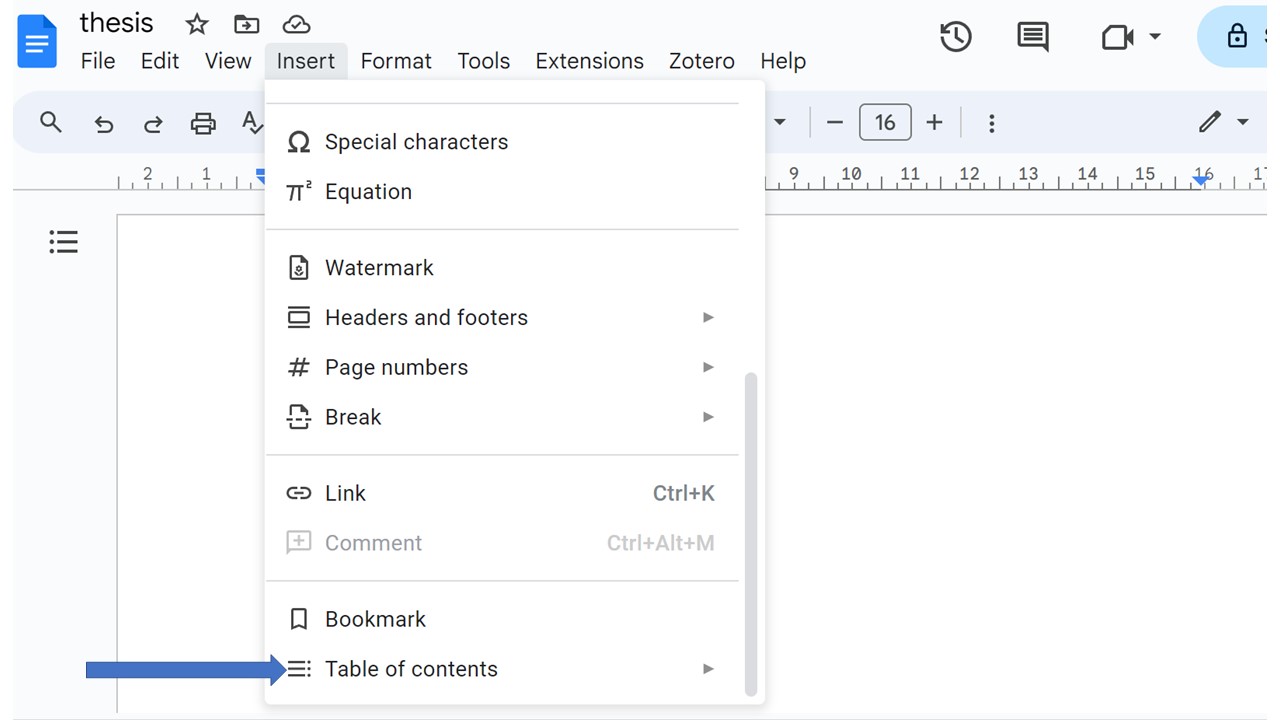
Insert Menu: Go to the “Insert” tab at the top of your Google Docs screen.
Choose TOC: In the dropdown, hover over “Table of Contents.” You’ll see two options: one with links and one with page numbers. Pick the one you like.
Update: As you add more sections or change page numbers, you can update the Table of Contents. Just click on it and you’ll see a “Refresh” icon. Click that, and it’ll update automatically.